Build an e-commerce Mobile App with Framework7, Vue, Vuex, and Cordova
JavaScript beyond the browser
Introduction
JavaScript has grown beyond a language for building web applications. With technologies like React Native, Ionic, Capacitor, Framework7, Cordova, Vue Native, you can take your JavaScript skills beyond the browser and build high-end mobile applications.
In this tutorial, we are going to be building an e-commerce mobile application with Framework7, Vuejs, and Cordova.
Prerequisites
To get started, you’d need Nodejs installed on your local machine. Android Studio installation is required if you want to build the android version of the app and install it on your device. You can follow along regardless of whether you are running on a Windows, Mac, or Linux OS
Note: Basic knowledge of Vue.js is required to follow this tutorial. You’d also need to be familiar with at least the basics of Vuejs and Vuex. No knowledge of Framework7 or Cordova is needed.
All the code snippet used throughout this tutorial can be found on my GitHub Account. Do well to clone the repo and do more awesome stuff with it.
Demo
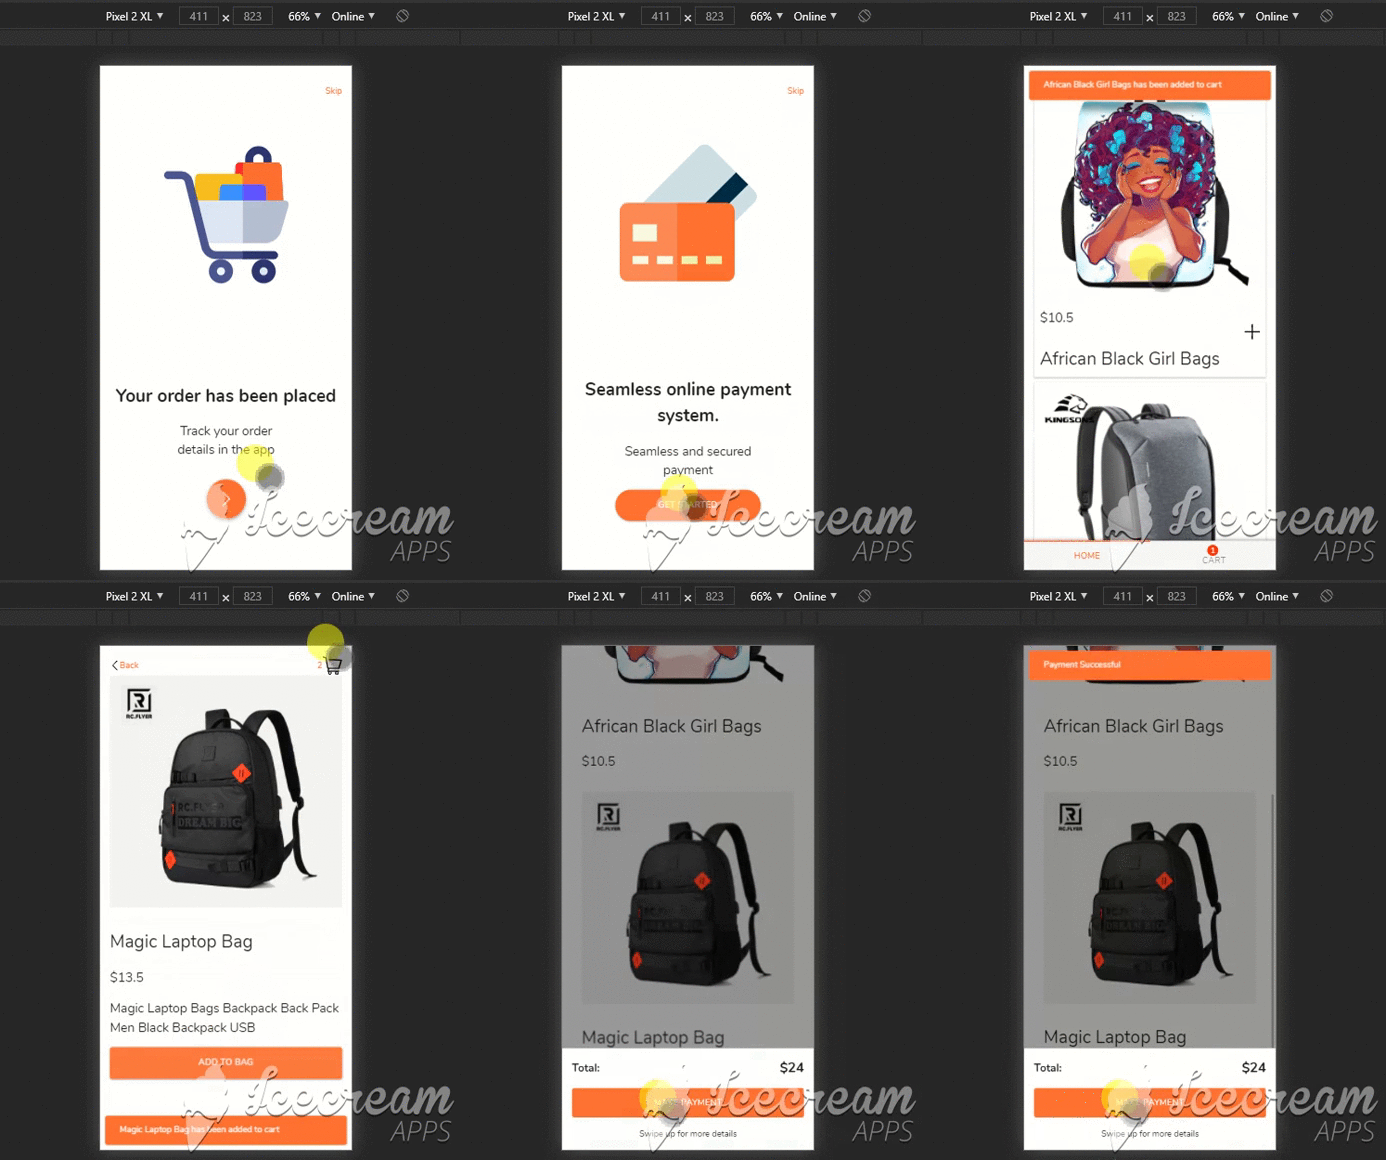
Here is a peek of what we will be building
Let’s Get Started
What is Framework7
Framework7 is a component framework for building applications that run on mobile (android and ios), desktop, and the web with a native look and feel. They have great sets of stunning UI components that will enable you to build high-end applications rapidly. The good thing about it is that it is framework agnostic, you can use tools you’re already familiar with like Vue, React, Svelte, and more.
What is Vuejs
Well, for me Vuejs is one of the best things that has ever happened to the JavaScript ecosystem. It is a Progressive JavaScript Framework for building user interfaces. One of its main selling points is it’s learning curve as it is considered easy to learn compared to frameworks like Angular and React.
What is Vuex
Vuex is a library for managing central states in your Vue applications. It is a central store that manages all the data that will be shared among multiple components in our Vuejs application
What is Cordova
Apache Cordova is a hybrid mobile application development platform for developers to build hybrid applications for mobile devices using web technologies like HTML, CSS, and JavaScript. It provides access to native device API
Let’s write some code
We will be using a starter template Caio Biodere.
To get started we need to install some global dependencies
$ npm install -g framework7-cli
Run the above command to install Cordova and Framework7 CLI globally on our local machine.
Now, let’s initialise a new project from the starter template provided by Caio Biodere.
$ cordova create <project_create_dir> [com.example.projectname] [ProjectClassName] --template cordova-template-framework7-vue-webpack
should be the name of the directory you want to your project to be saved on. The [com.example.projectname] should be the id of your app. It should be unique, so try using the name of your site. More about it here. [ProjectClassName] refers to the actual name of your app.
Example “cordova create ecommere-f7-vue com.ejirocodes.dev Ecommerce — template cordova-template-framework7-vue-webpack”
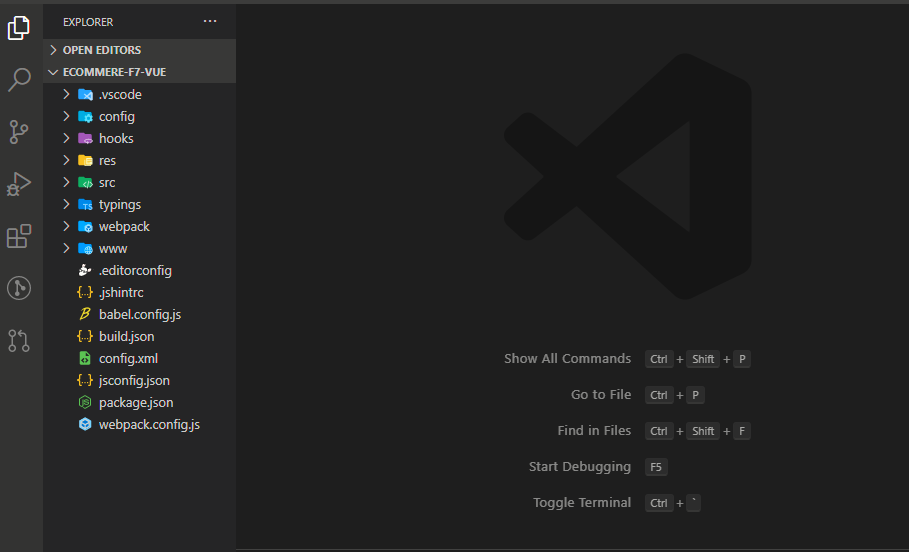
Framework7 — Vue — Webpack Cordova Template
You should end up with something like this. We are mostly going to be working in the “src” directory.
Run the following command on your terminal to install the project dependencies and to add a browser to our platform so we can preview our app in the browser. You should see a node_modules and platform folder added to the root of your project directory
$ cordova platform add browser
open your package.json file and add the this under the “script” section 👇🏽
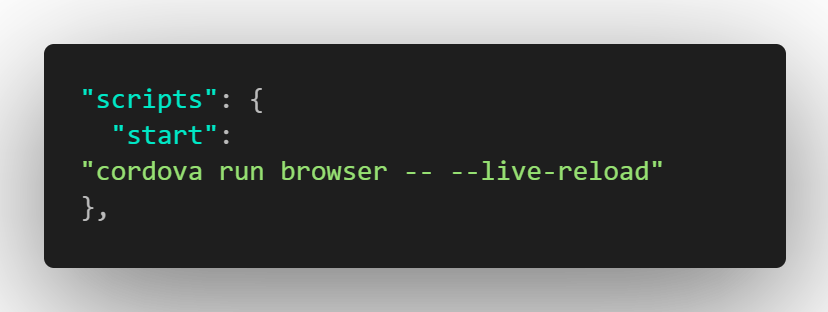
Run Cordova application on the browser
after running “npm start”, the project should automatically be launched on your browser on port 8081
$ npm start
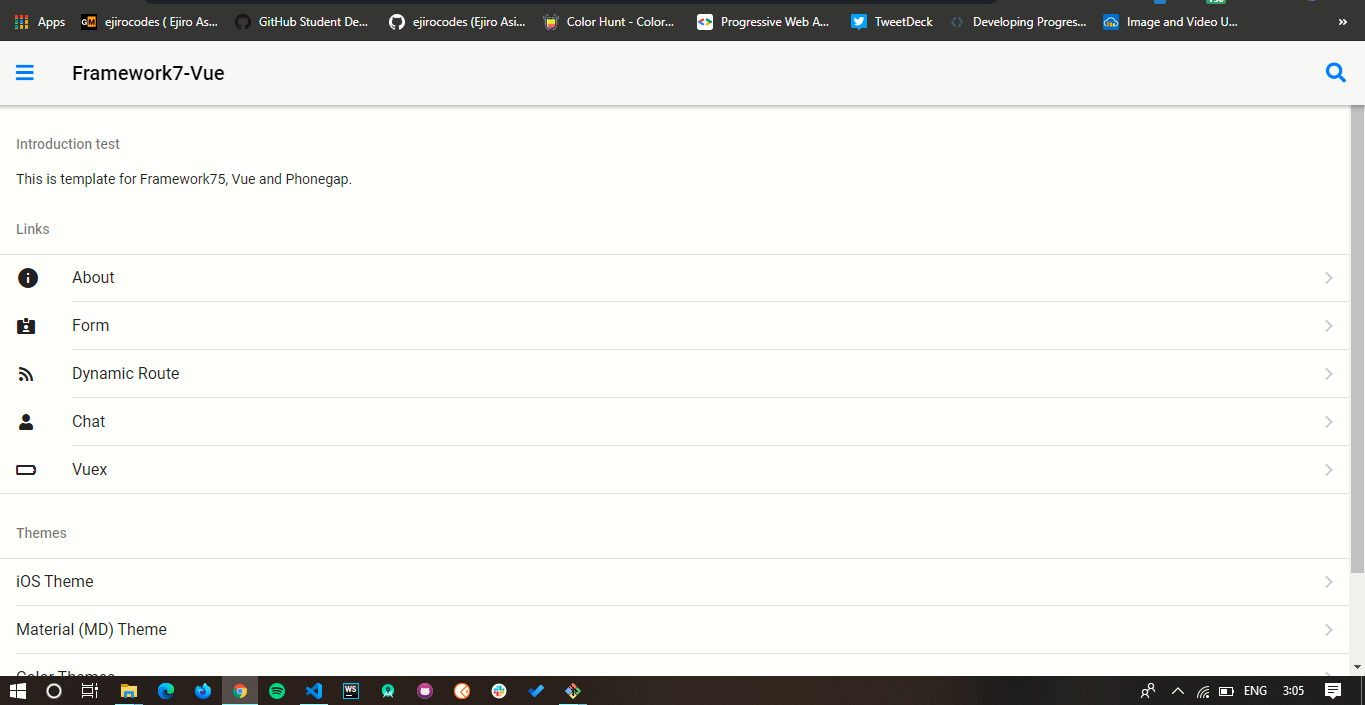
Home page
In your main.js file, add the following line of code to import our main.scss file globally
import './assets/sass/main.scss';
Onboarding Component
Onboarding pages are usually the first screens new users see when they log on to our app. We are going to have 3 onboarding screens.
Create a components folder, and file onboarding1.vue with the following code.
Let’s create the second onboarding screen
Next is our last onboarding screen
Next, add the following style to your main.scss
.heading-2 {
  font-size: 1.8rem;
  margin-bottom: 0;
}
.p-1 {
font-size: 1.3rem;
margin-bottom: 0;
}
You should end up with something that looks like this
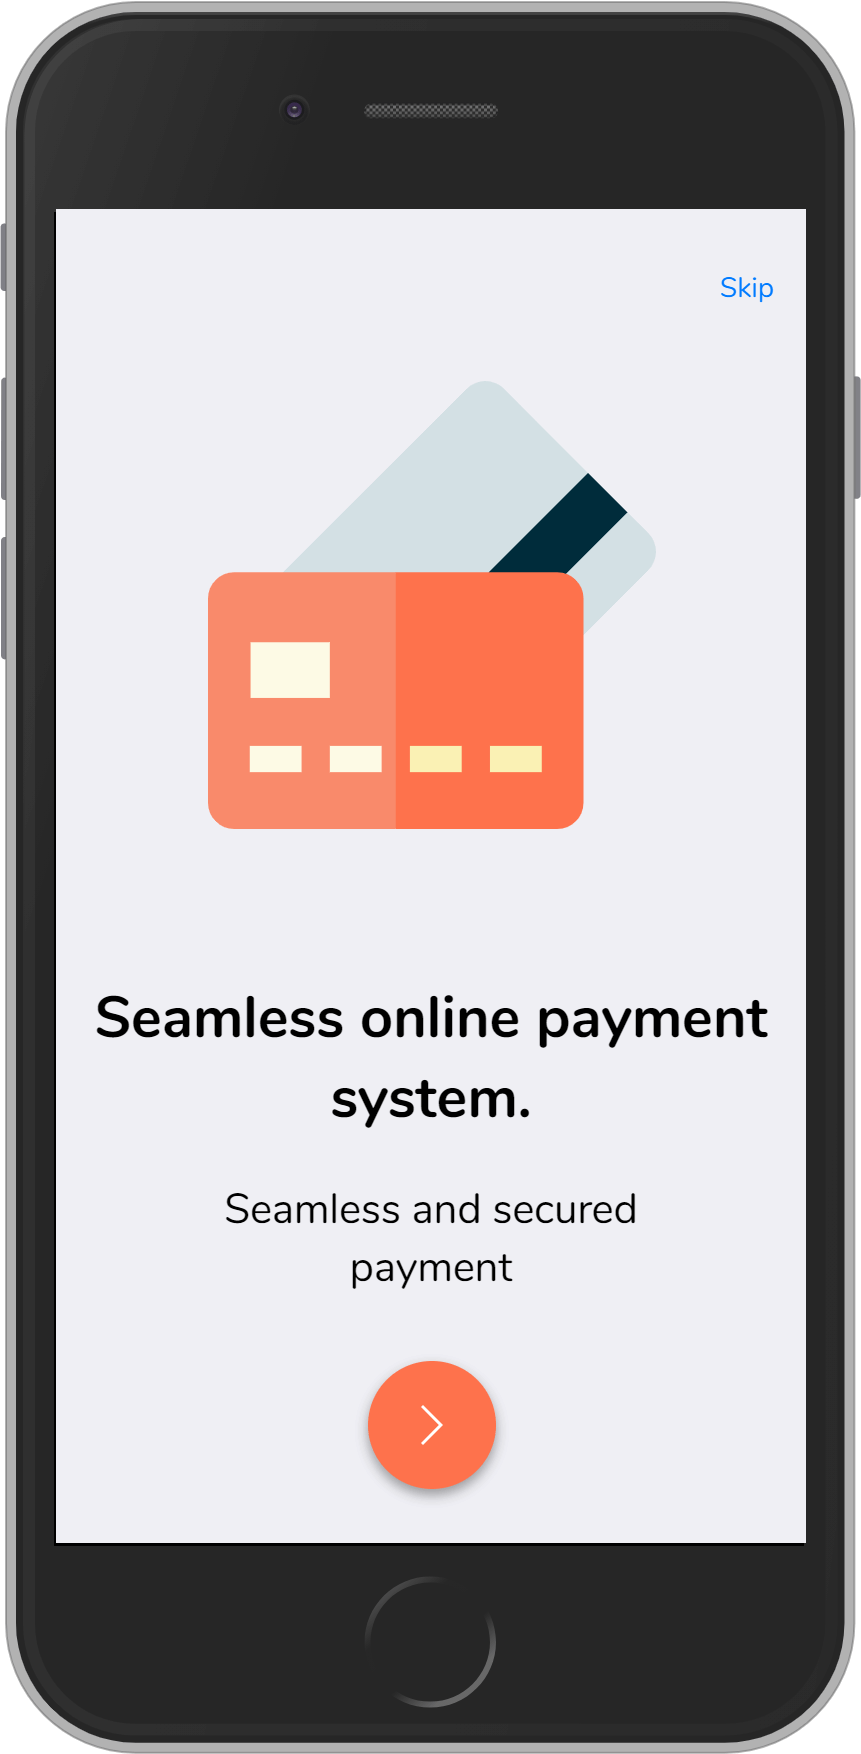
Screenshot of the app
Next, Let’s configure our routes to navigate through the different onboarding screens.
To learn more on how routing works in Framework7, check this out
Navigate to the route.js file and import the onboarding screens and add them to the array of routes.

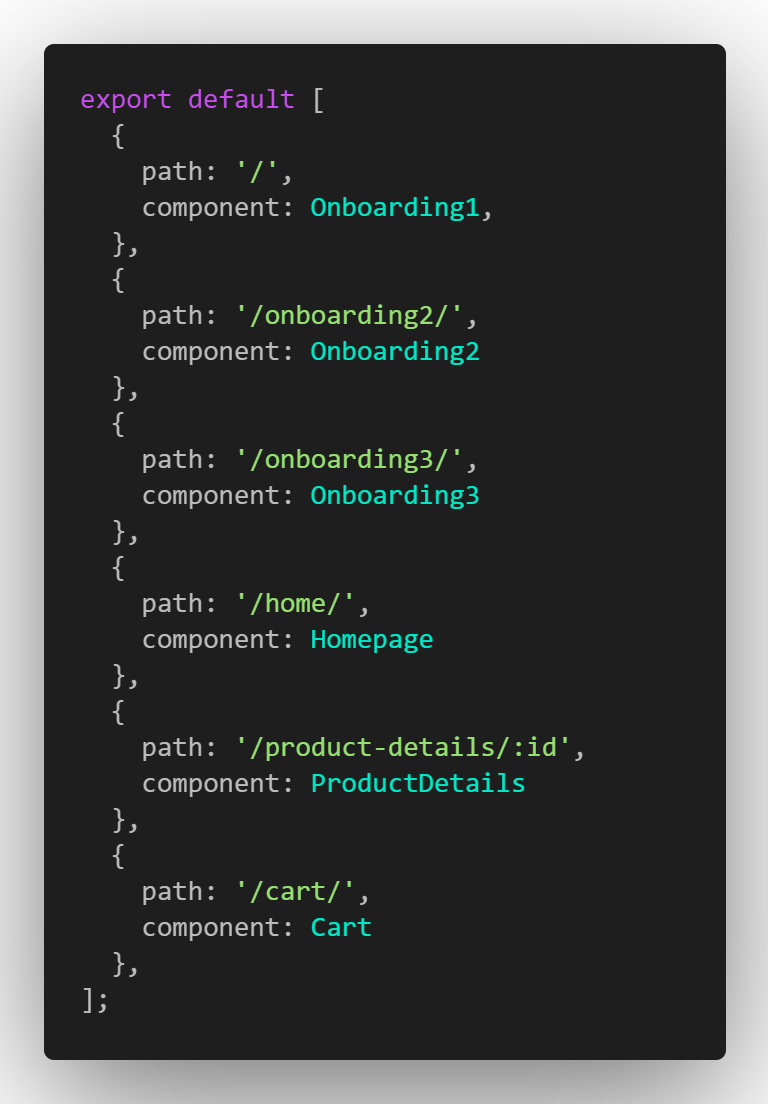
routes.js
Next, we will create a homepage.vue in our pages directory
Add the following code to the homepage component
Homepage
What we’ve essentially done is we created a homepage component that has a Tabbar for navigating between the home page which contains a list of products and our cart component.
Next, in our components directory, cartItem.vue component, This component will hold each of our products and it will contain an image, cost, and title of the product. It will also contain an add to cart button. In the handleProduct method, we are navigating the user to a product details component which we will create later, and then adding our route param which is gotten from the id of our product to create a dynamic route system for each product in our app.
The addToBag method adds an item to the cart (which we have not created yet) by committing a mutation in our vuex. When an item is added to the cart, we use the Framework7 toast to notify the user of the item that has been added to the cart. If you’re not familiar with vuex, please check out the official documentation here
cartItem.vue
Next, we will create our product details component which will be in our component directory. This component will hold more details about each product in our app.
productDetails.vue
In our routes.js, let’s import the product details component and make use of it
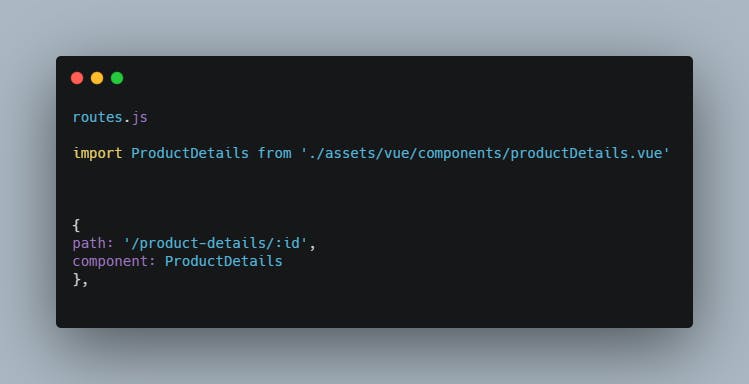 import product details
The last component is our cart page. Navigate to your pages folder and create a cart page with the following code
What we’ve essentially done above is to get the list of items added to our cart array in vuex, render them and calculate the total cost by using the reduce array method in JavaScript
The showPreloader displays a preloader from Framework7 and then after 3 seconds, it goes off then a toast is displayed. We are essentially faking a payment system :)
Working with Vuex
Now, to make everything work, we have to work with vuex, which is a state management library for Vue application.
If you’re not familiar with vuex, I highly recommend that you check out the official documentation. Vuex is powerful and it makes building SPAs with Vuejs a breeze
Navigate to your src/assets/vuex/storage.js.
In your state object, add an empty product object and an empty cart array
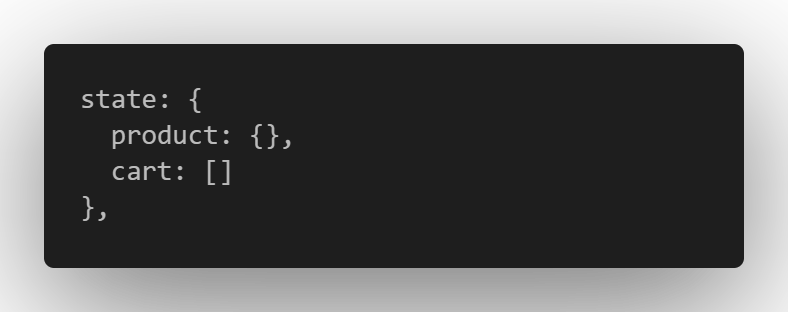
State in Vuex
Next, we have to mutate our product and cart state by using mutations provided by vuex.
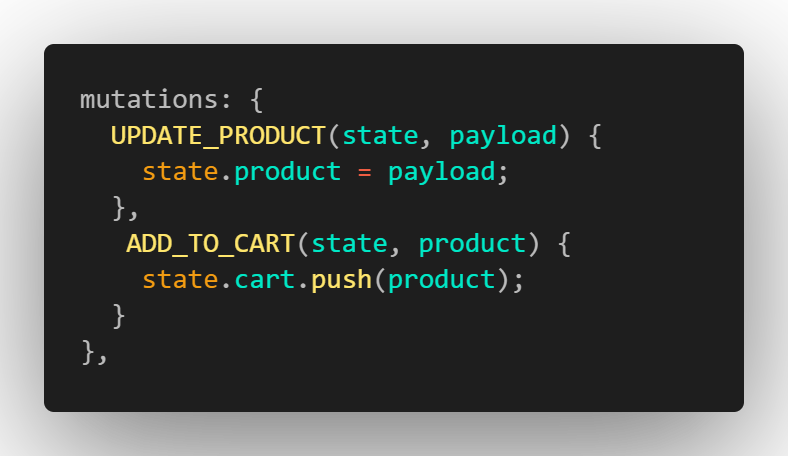
Mutating state with vuex mutations
Lastly in our Vuex, we need to create a getter that will return the cart array in our vuex state and then add the length property to get the number of items in our cart.
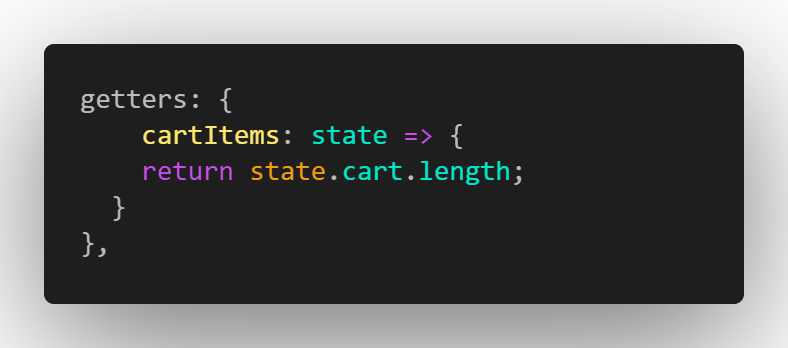
Getters in Vuex
Build for Android
To build for android, we need to add the android platform with Cordova
cordova platform add android
Run the above command in your to add the android platform. This will generate a folder named android in your platform directory
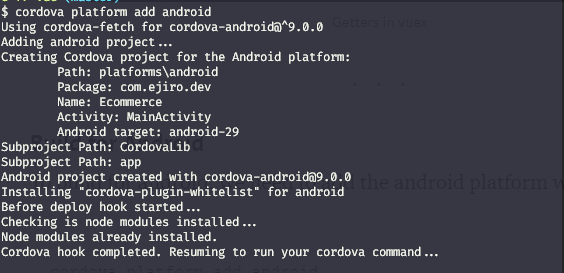
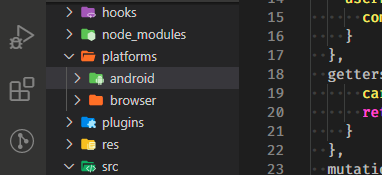
android platform
Now, we have to prepare for the android build, run the command below on your terminal from the root of your app to prepare the android build
cordova prepare android
Once that is done, launch your android studio, open the newly generated android folder, wait for Gradle to download and import dependencies.
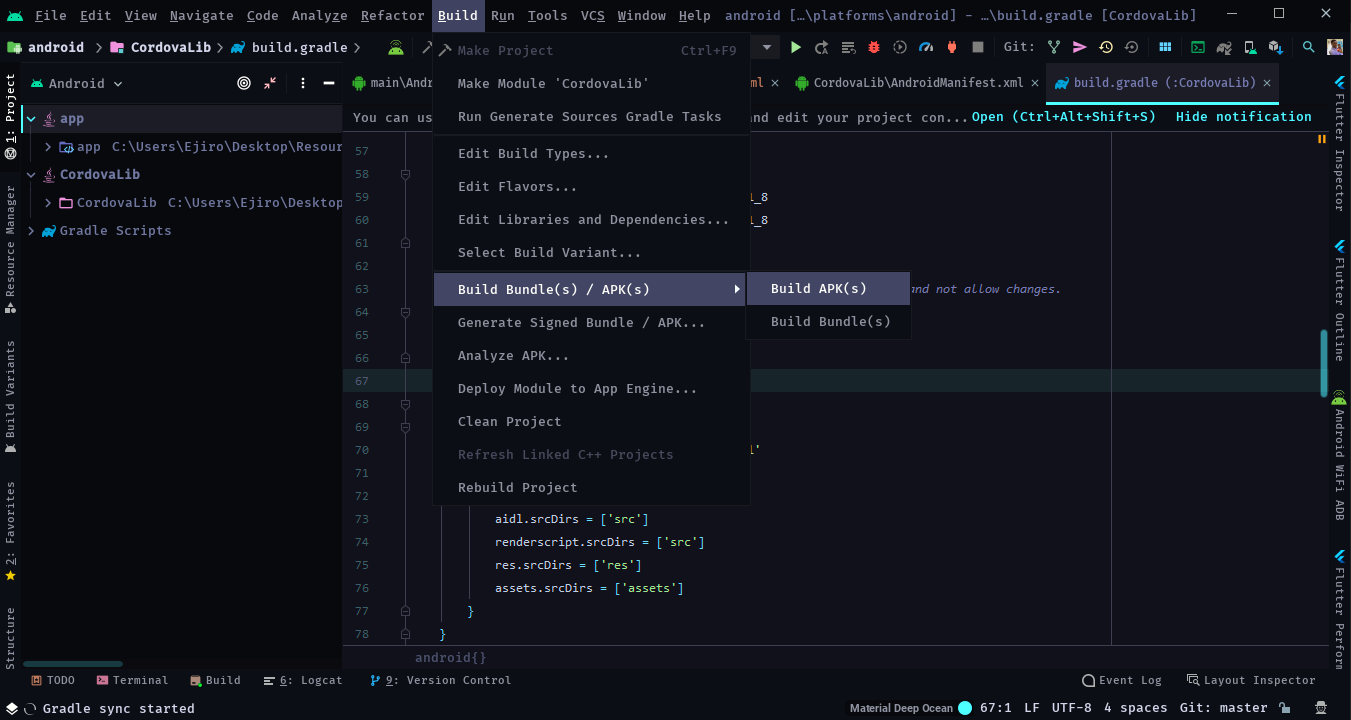
After that, menubar click on build and select “build bundle(s) / APK(s)”, a dropdown will appear to select “build APKs”. Android studio will generate your android and a notification with the location of the APK will pop up. Click on locate to open the folder of the build and then you can send it to your device to install.
Bundle APK on Android Studio
Conclusion
Framework7 is an awesome UI component library for building modern interfaces for mobile applications. It is easy to learn, intuitive, and can be used to build high-end mobile applications when used rightly. If you’re a JavaScript developer who wants to build mobile applications using web technologies, I recommend you try out Framework7.
All SVGs used in this tutorial were gotten from Flaticon.
That’s it guys, thanks for following all through. If you find this article interesting, do well to give it some claps and follow me on Twitter.
